Window Graphics & Decals
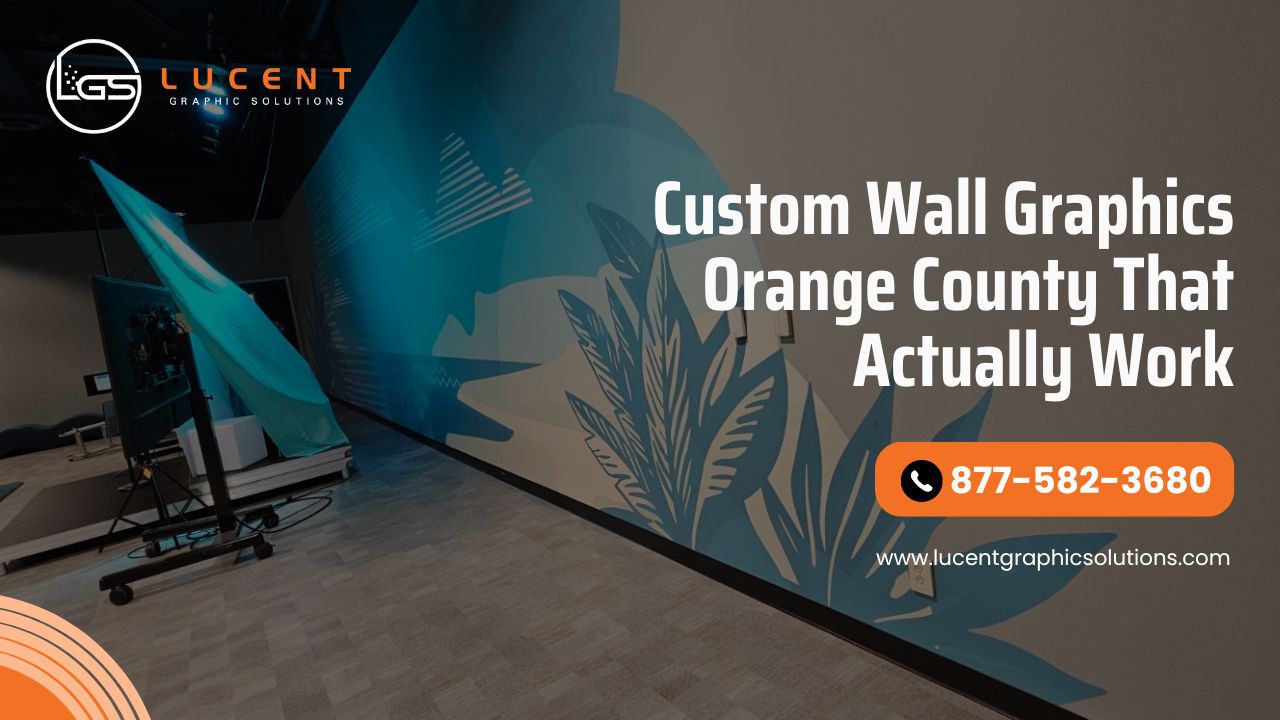
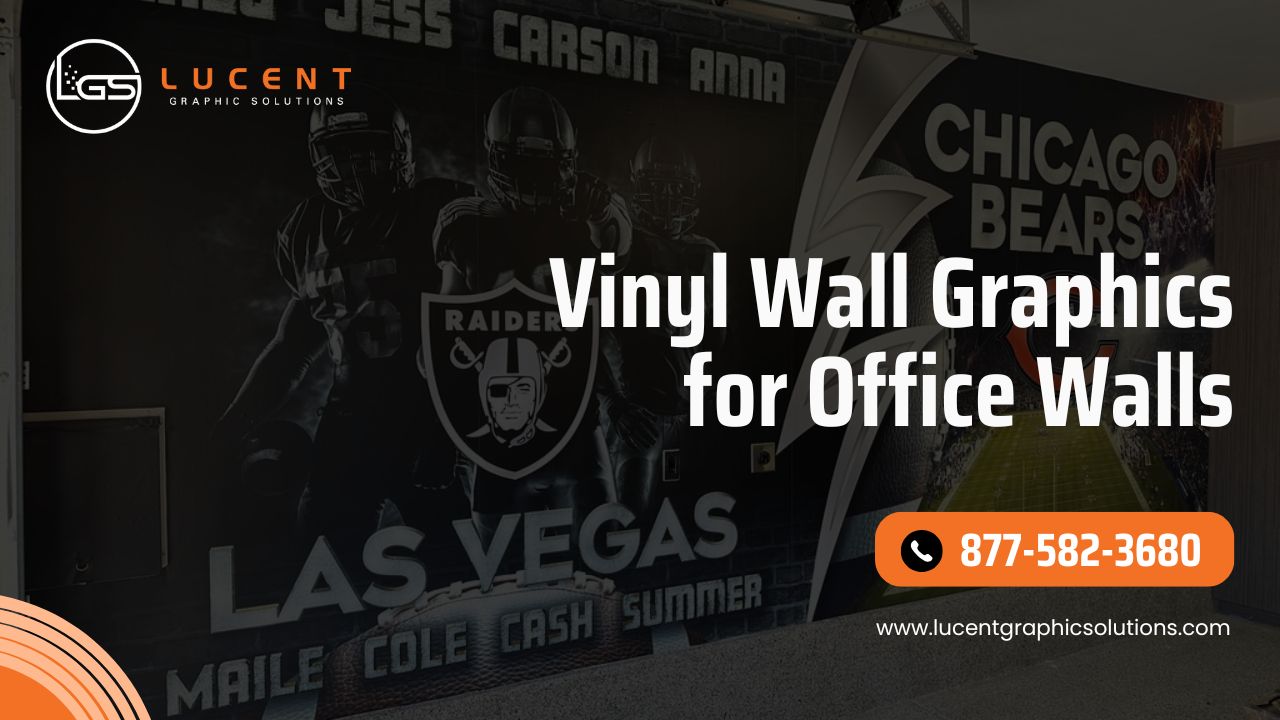
Wall Graphics & Wraps
Vehicle Wraps & Graphics
Window Graphics & Decals
Wall Graphics & Wraps
Vehicle Wraps & Graphics